Create a Sign-In Sheet on Excel: Simple Guide

Creating a sign-in sheet on Excel is a practical skill for various settings, from corporate meetings to community events. This guide will walk you through the process, highlighting the simplicity and effectiveness of using Excel for organizing check-ins and attendance tracking. Whether you're organizing a seminar, managing a class, or coordinating a business conference, an Excel sign-in sheet can streamline your administrative tasks efficiently.
Step 1: Starting Your Excel Workbook

Begin by opening Microsoft Excel on your computer. Here’s how to proceed:
- Click on the ‘File’ tab, then select ‘New Workbook’ or press ‘Ctrl + N’ to start a fresh Excel sheet.
- Save your workbook by pressing ‘Ctrl + S’ or selecting ‘File’ > ‘Save As’, choose a location, name your file (e.g., ‘SignInSheet_2023’), and click ‘Save’.
Step 2: Setting Up Your Sheet

Now, let’s organize the layout of your sign-in sheet:
- Merge and Center: To give your sheet a professional look, merge the first row’s cells to create a title. Select the cells you want to merge, then click ‘Home’ > ‘Merge & Center’.
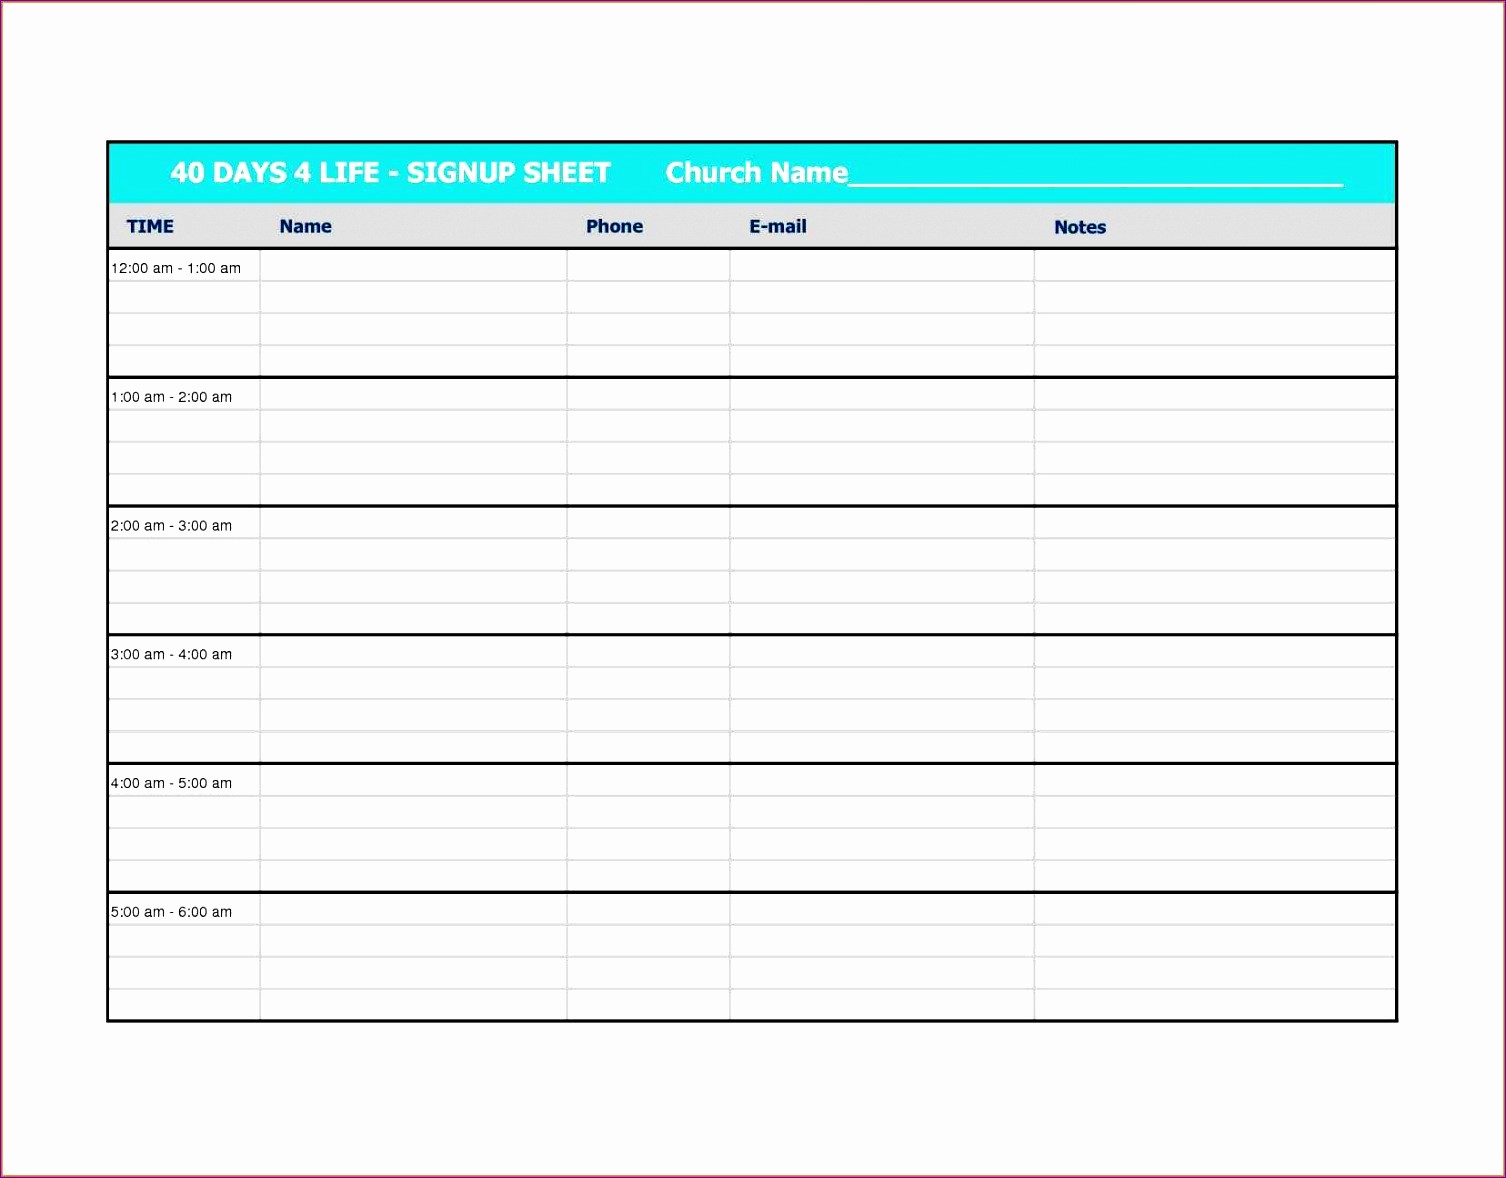
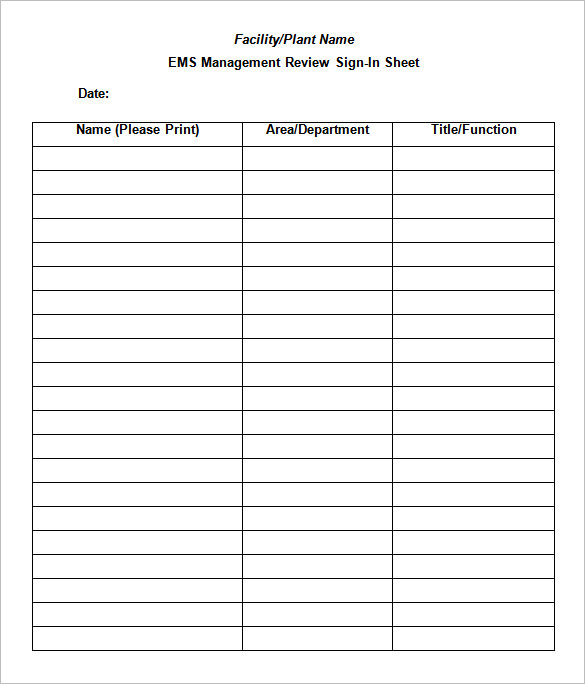
- Headers: In the row beneath your title, enter column headings like: ‘Name’, ‘Email’, ‘Phone Number’, ‘Time In’, ‘Time Out’, ‘Signature’.
- Adjust the width of each column by double-clicking the boundary between column headers or dragging the boundary line to the desired width.
Step 3: Formatting and Customization

Excel offers several formatting tools to enhance your sign-in sheet:
- Font and Style: Highlight the title and change its font to something prominent like ‘Arial Black’ or ‘Times New Roman’. Increase its size for better visibility.
- Cell Alignment: Align text within cells using ‘Home’ > ‘Alignment’ for a clean appearance. Center headers and left-align data columns for readability.
- Borders: Add borders to your cells for clarity. Go to ‘Home’ > ‘Borders’ and choose ‘All Borders’.
- Conditional Formatting: To highlight particular rows or cells, use ‘Home’ > ‘Conditional Formatting’. For instance, you might want to highlight late arrivals in a different color.
Step 4: Adding Formulas

While not always necessary, formulas can automate your sign-in process:
- Auto Sum: If you need a count of attendees, enter ‘Total Attendees:’ in a cell below your list, and in the adjacent cell use the formula “=COUNTA(A2:A#)” (replace # with the last row of your data).
- Time Calculations: To calculate the time spent by attendees, use the formula “=B# - A#” in the ‘Time Out’ column, where A is ‘Time In’ and B is ‘Time Out’.
⚙️ Note: Don't forget to format the calculated time to show hours and minutes, e.g., 'h:mm'.
Step 5: Printing Your Sign-In Sheet

Before your event or meeting, ensure your sign-in sheet is ready to print:
- Click ‘File’ > ‘Print’ to view the print preview. Adjust settings to fit your needs.
- Select ‘Print Entire Workbook’ or ‘Print Active Sheets’ based on how you’ve set up your document.
- Adjust Page Layout to fit your data (you can choose ‘Landscape’ or adjust margins).
To summarize, creating a sign-in sheet in Excel can significantly improve the efficiency of managing attendance for various events or meetings. By following these steps, you can craft a custom, functional, and visually appealing sign-in sheet. The flexibility of Excel allows you to modify the sheet for different contexts, making it a versatile tool for both professional and personal use. Remember to practice setting up different formats and functionalities to find what works best for your specific needs.
Can I add or remove columns on my Excel sign-in sheet?

+
Yes, Excel is flexible. Right-click a column header and choose ‘Insert’ or ‘Delete’ to modify your columns as needed.
How can I make my sign-in sheet more secure?

+
Limit editing by protecting the worksheet. Go to ‘Review’ > ‘Protect Sheet’, set a password, and only allow certain cells to be editable.
What if I need a digital signature on my sign-in sheet?

+
You can add an image placeholder and provide instructions to attach a digital signature via email or other digital means.
Is it possible to send the sign-in sheet to attendees for pre-filling?

+
Yes, you can share the file via email, OneDrive, or Google Drive, allowing attendees to fill in their details in advance.