5 Easy Steps to Create a Sign-In Sheet in Excel

🚀 Note: This tutorial will guide you through the process of creating a sign-in sheet in Microsoft Excel, ensuring you have an efficient tool for collecting visitor information or event attendance.
Step 1: Open Microsoft Excel
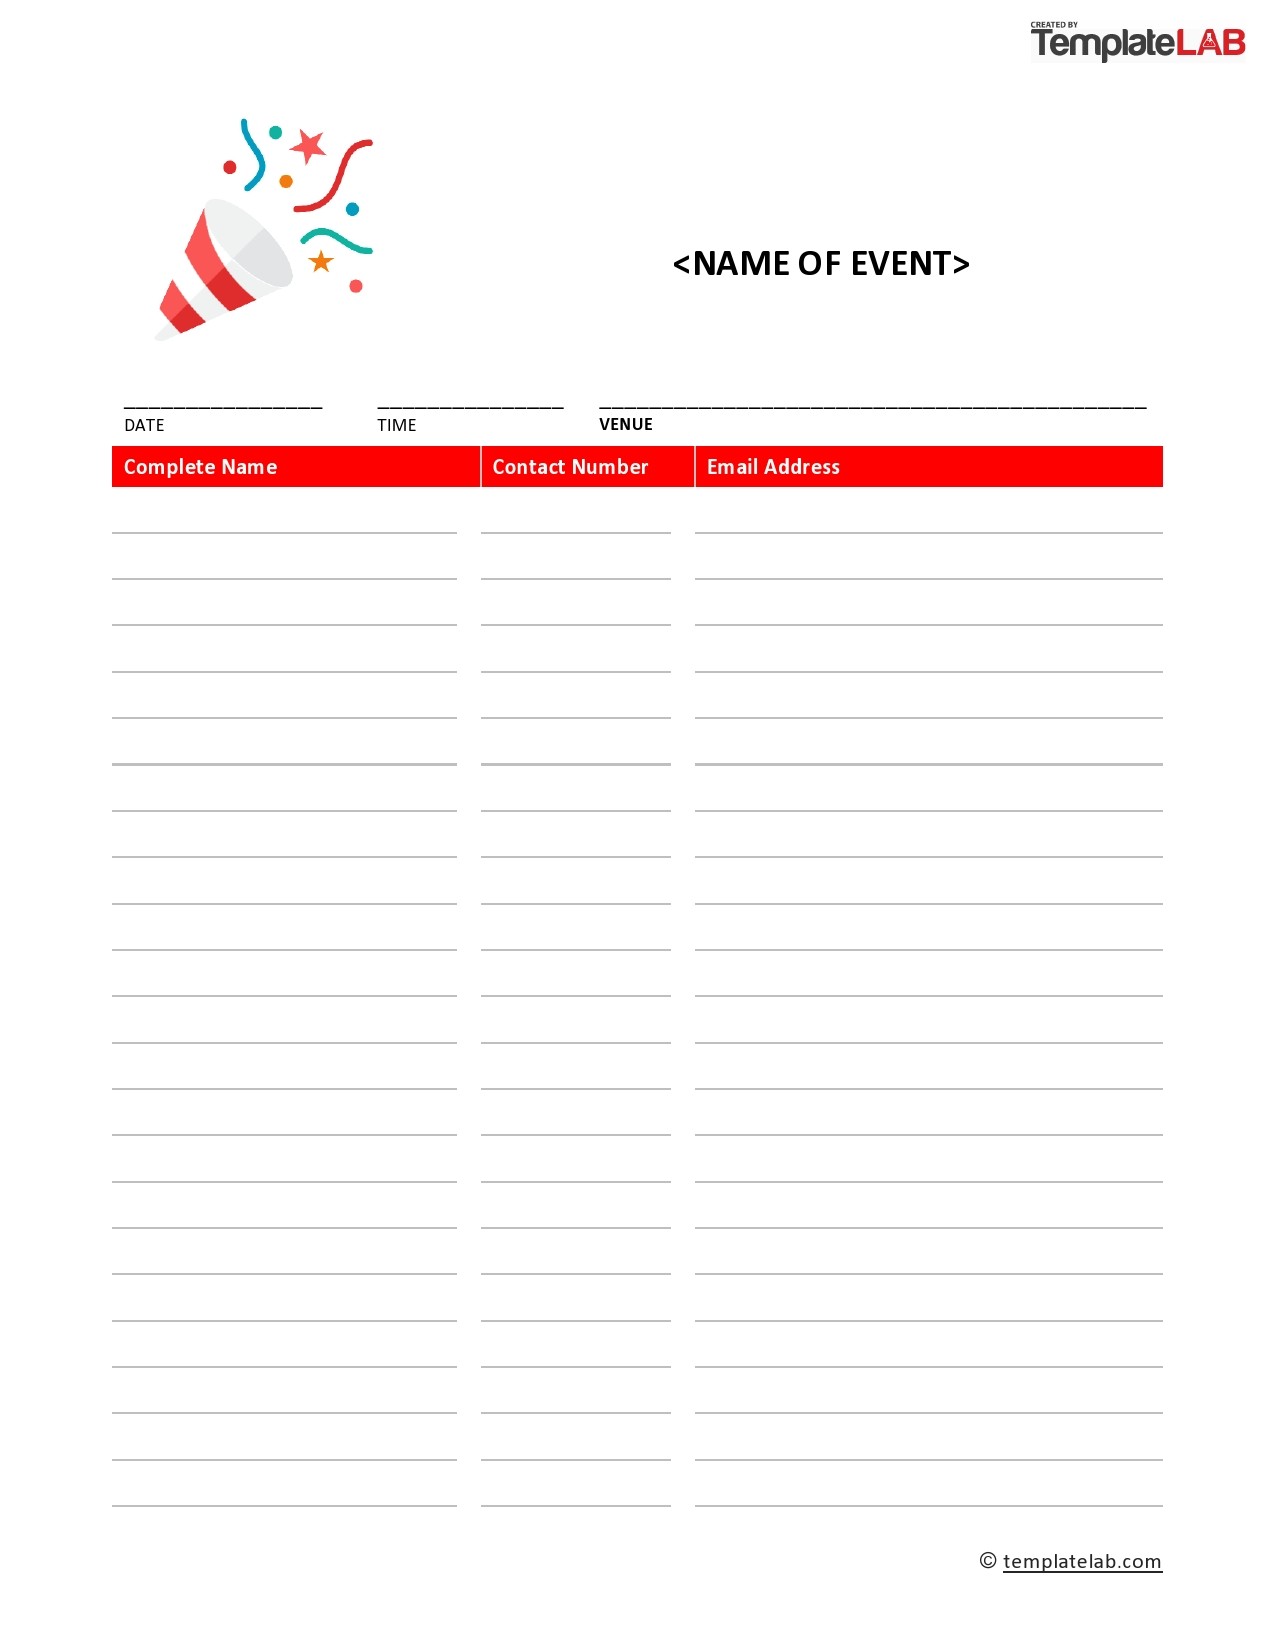
The first step is to open Microsoft Excel. If you are using a Windows PC, you can find Excel in the Start Menu or pinned to your taskbar. For macOS users, you can find it in your Applications folder or through the search feature.
Step 2: Set Up the Basic Structure
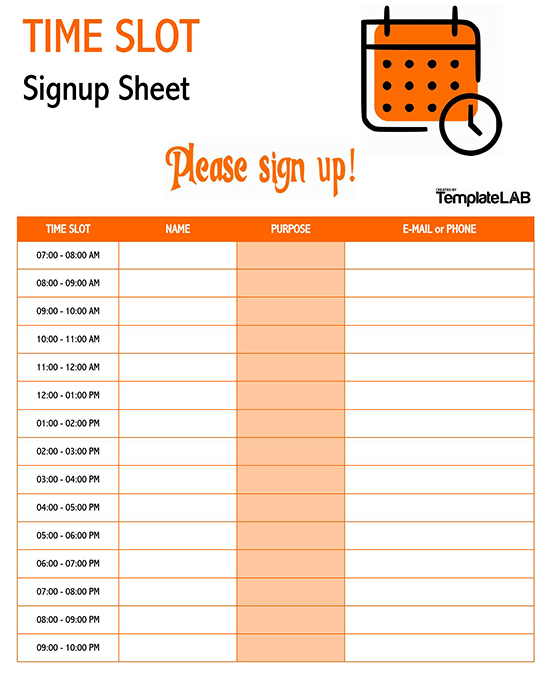
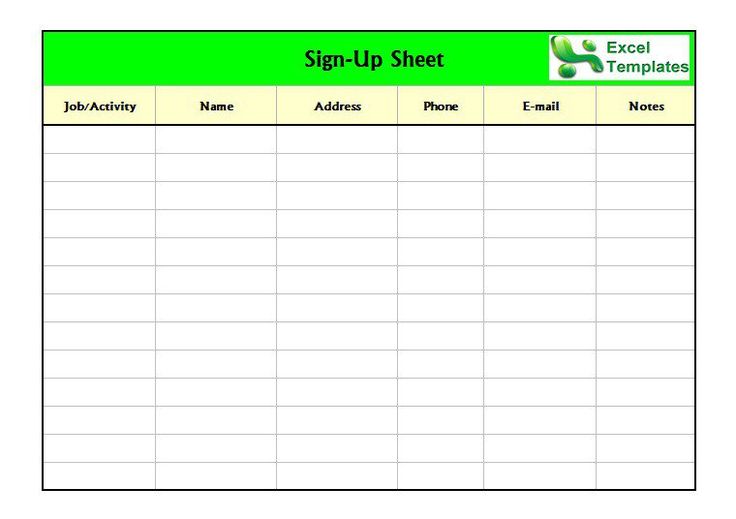
Now, it's time to create the basic structure of your sign-in sheet. Here’s how:
- Open a blank workbook. By default, Excel will open with a new blank workbook.
- Begin with cell A1 to enter the sheet's title, like "Sign-In Sheet" or "Visitor Log". Adjust the font size, style, and alignment to make it prominent.
- Create column headers in the next row. Suggested headers include:
- Name
- Date
- Time In
- Time Out
- Purpose of Visit
- Signature
- Format these headers for easy readability by setting bold or underlining them.

Step 3: Formatting for Enhanced Readability
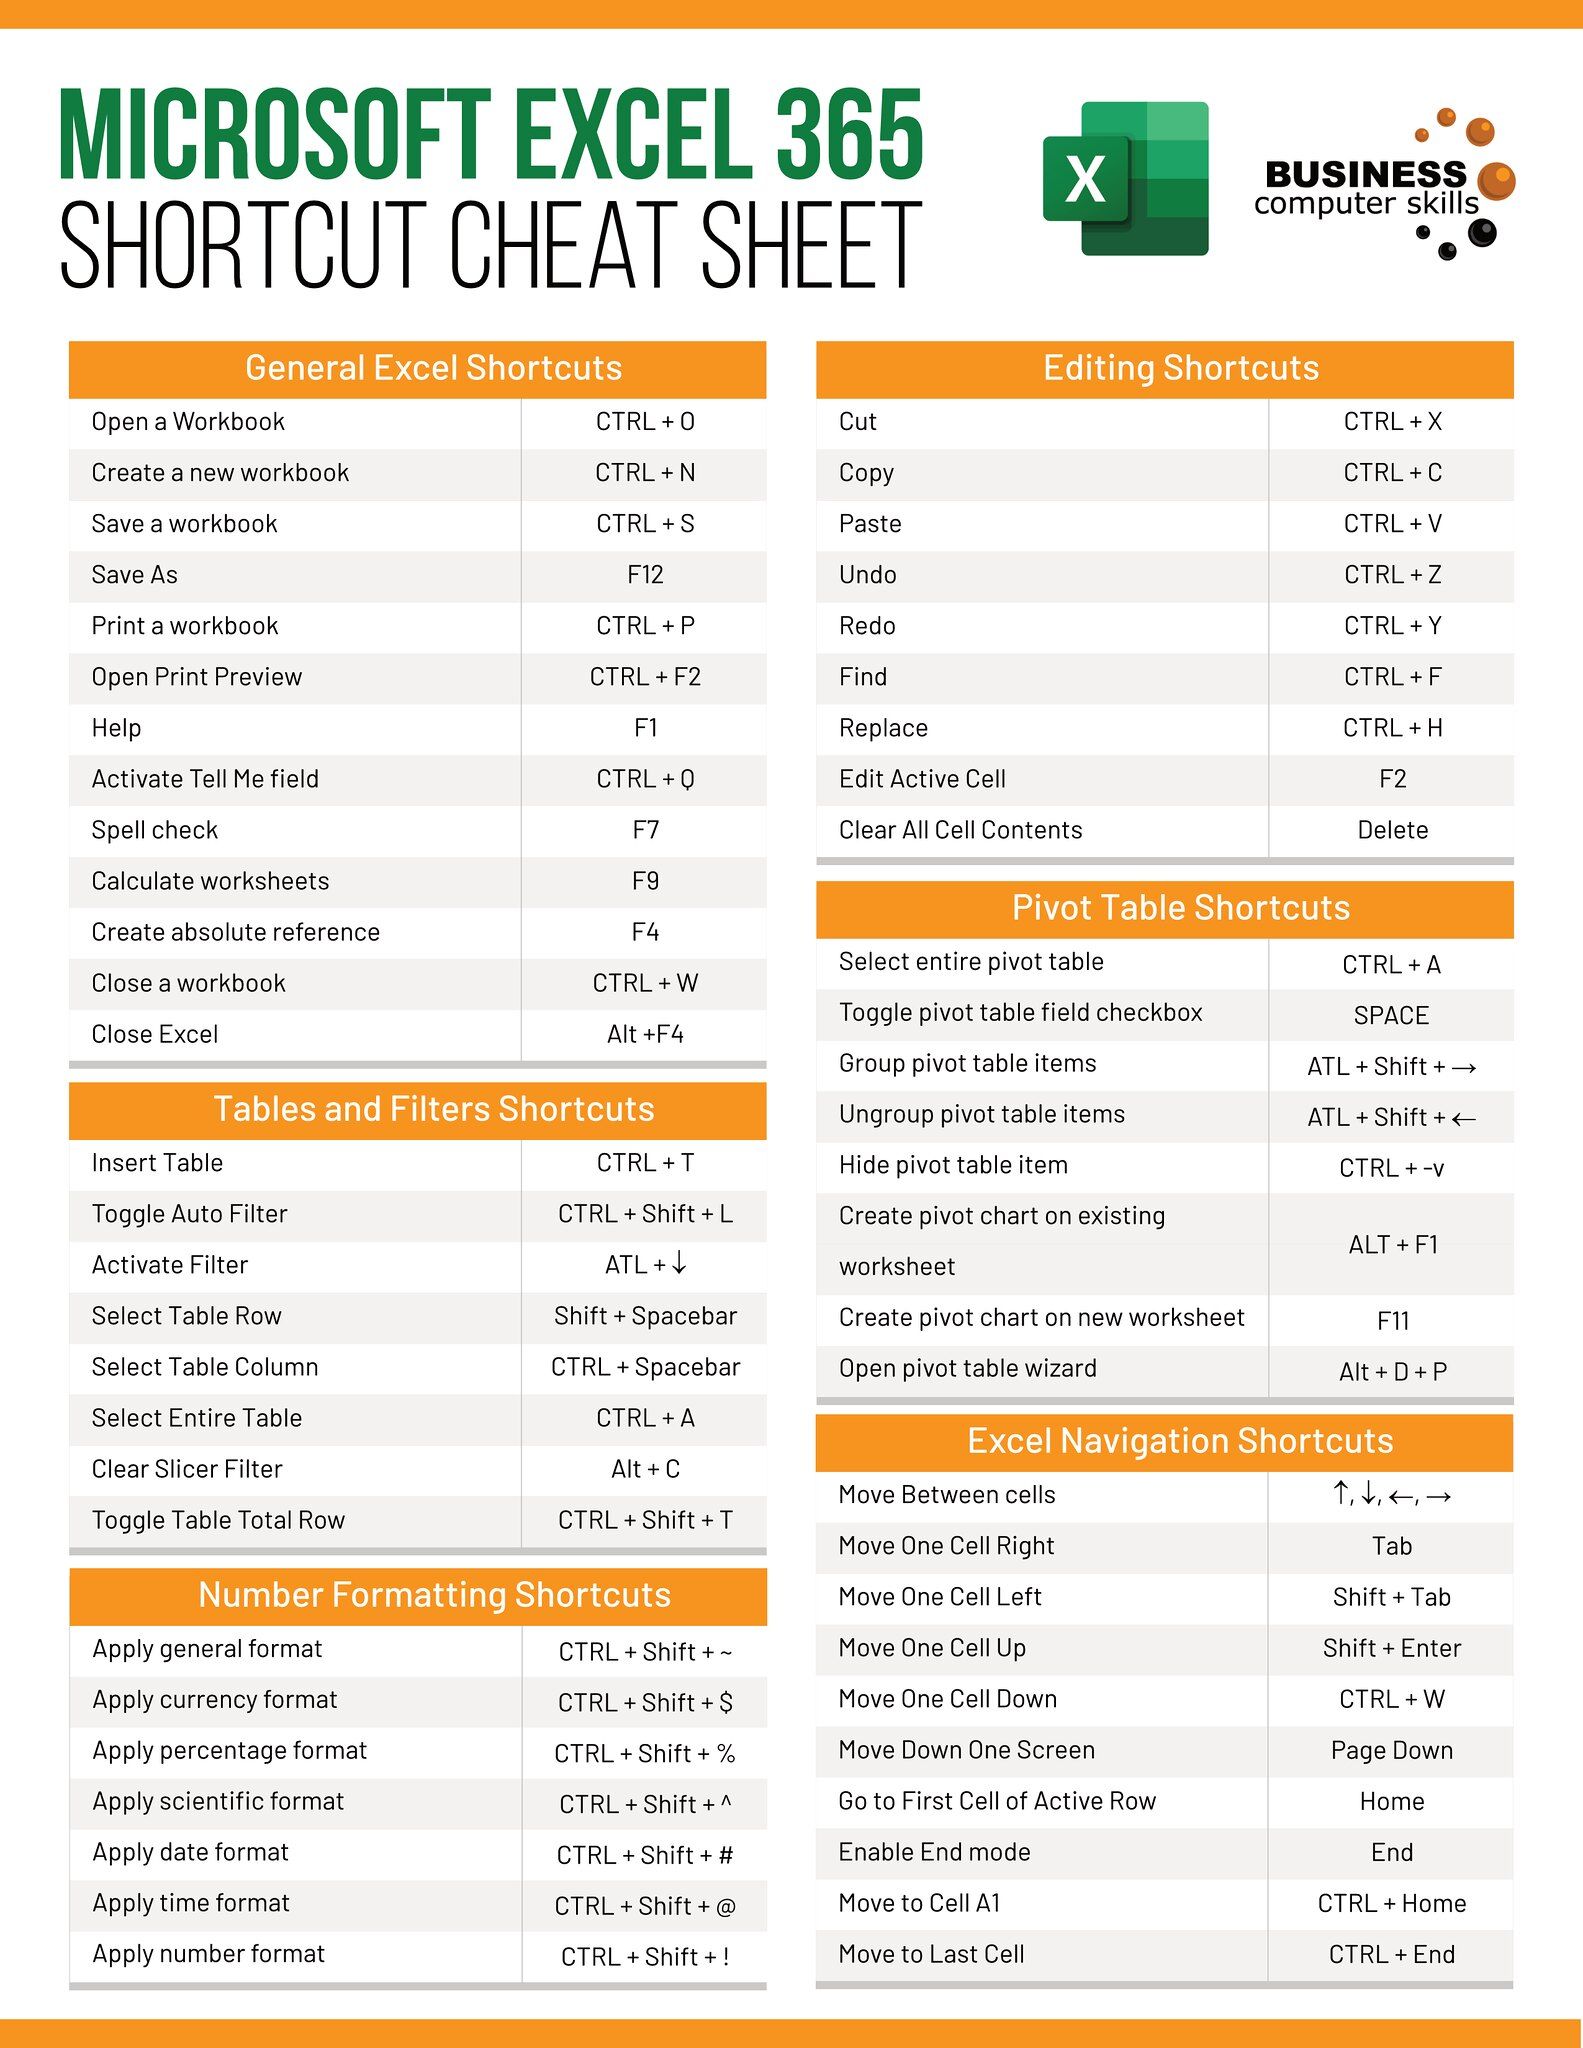
Making your sign-in sheet easy to read and use is vital. Here’s how to enhance its readability:
- Freeze Panes: Go to the "View" tab, click "Freeze Panes," then choose "Freeze Top Row" so that the headers remain visible when scrolling.
- Date and Time Formatting: Set appropriate cell formats for date and time in the corresponding columns. Click on the cells or select the entire column, then choose the desired date and time format from the "Number" section on the Home tab.
- Column Width: Adjust column widths to fit the expected input. Double-click the right border of a column header to auto-fit.
- Input Hints: Provide examples or hints in cells below the headers to guide users on what to enter.

Step 4: Adding Data Validation
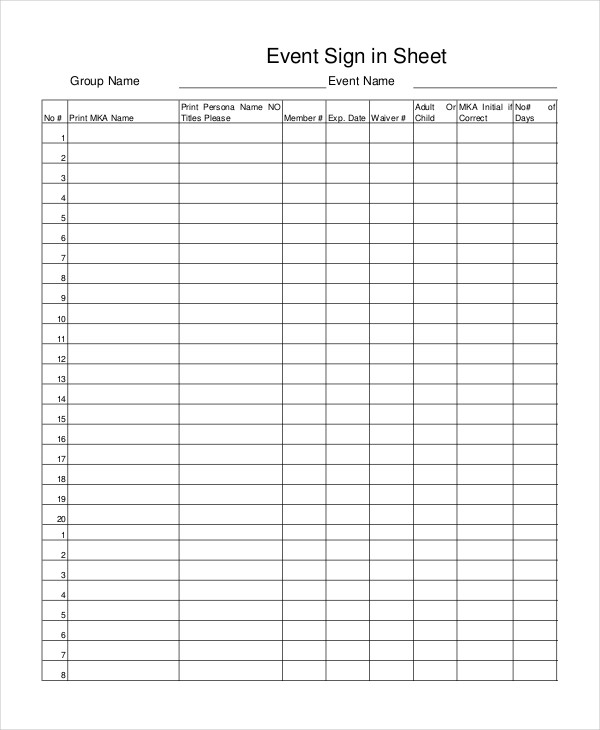
To enhance data accuracy, consider using Excel's Data Validation feature:
- Name Column: Set data validation to allow only text input.
- Date and Time Columns: Ensure these columns accept only valid date and time formats.
- Signature Column: You can instruct users to write in their signature or opt for a digital solution.
- To apply Data Validation:
- Select the column where you want to add validation.
- Go to the "Data" tab, click "Data Validation."
- From the "Allow" dropdown, choose the appropriate data type (Text, Date, Time, etc.).
- Set any additional criteria like input messages or error alerts.
Step 5: Optional Advanced Features
If you want to take your sign-in sheet to the next level, consider these advanced features:
- Auto Time Stamp: Use the NOW() function to automatically record the time when someone enters data.
- Protecting the Sheet: To prevent unauthorized edits, protect the worksheet by selecting "Review" tab and then "Protect Sheet."
- Create a Template: Save this sign-in sheet as a template for reuse by going to "File," then "Save As," and choosing "Excel Template (*.xltx)" as the file type.
💡 Note: Remember that Excel's time-stamping function will update every time the sheet is opened or saved. If you need an unchangeable timestamp, consider using macros or other programming methods outside of Excel's standard functions.
Now, your sign-in sheet in Excel is not only visually appealing and user-friendly but also structured to collect information efficiently. This setup ensures you have a consistent and professional way to track attendees, visitors, or staff, making it easier to manage entry, track duration, and keep records for future reference. Whether for an event, office, or any organizational need, this Excel sign-in sheet provides a practical solution for gathering and organizing data.
Can I add formulas to my sign-in sheet?

+
Yes, you can add formulas for calculations like counting total visitors, tracking time spent, or even for some basic data analysis. Use Excel’s formula bar to input your desired formulas.
Is there a way to automatically save signatures?

+
While Excel doesn’t natively support saving signatures as images, you can create a form in OneDrive or use third-party software to collect and link digital signatures to your sign-in sheet.
How do I protect sensitive data on my sign-in sheet?

+
Excel offers password protection for workbooks and sheets to prevent unauthorized access or changes. Additionally, you can limit editing by selecting “Allow Users to Edit Ranges” before protecting the sheet.