Display Excel Sheets on Windows 7 Easily

When working with Microsoft Excel, especially on an older operating system like Windows 7, many users encounter issues with how to display multiple sheets or organize data for easy access and analysis. Here, we'll guide you through several methods to display Excel sheets on Windows 7, ensuring you can work efficiently and maximize productivity.
Using the Ribbon for Navigation
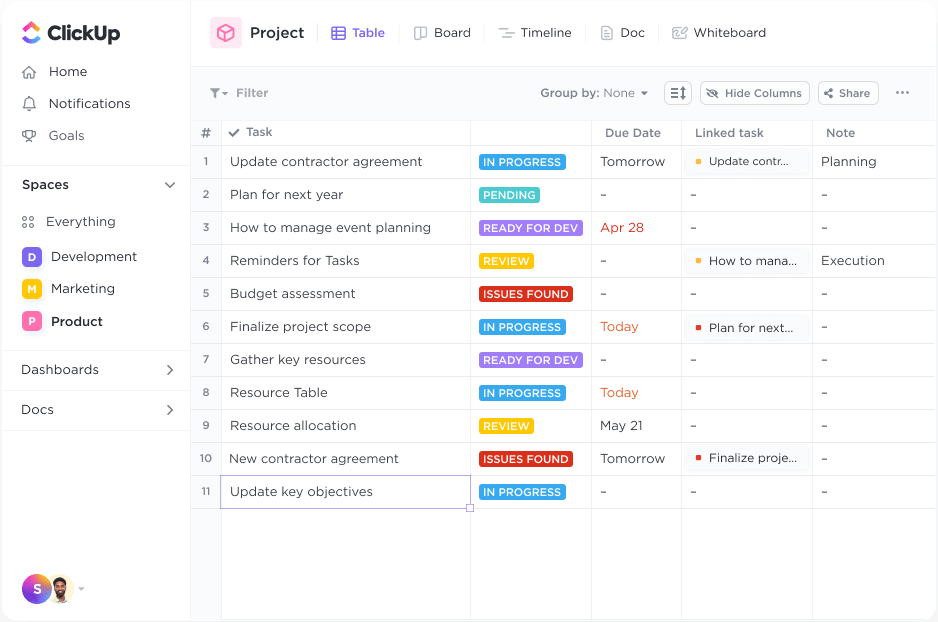
Microsoft Excel offers various navigation tools through its Ribbon. Here’s how to utilize them effectively:
- View Tab: Access the ‘View Tab’ in Excel, where you can choose from several options:
- Freeze Panes - Lock specific rows or columns in place while scrolling.
- Split - Split the workbook window into multiple views for easier comparison.
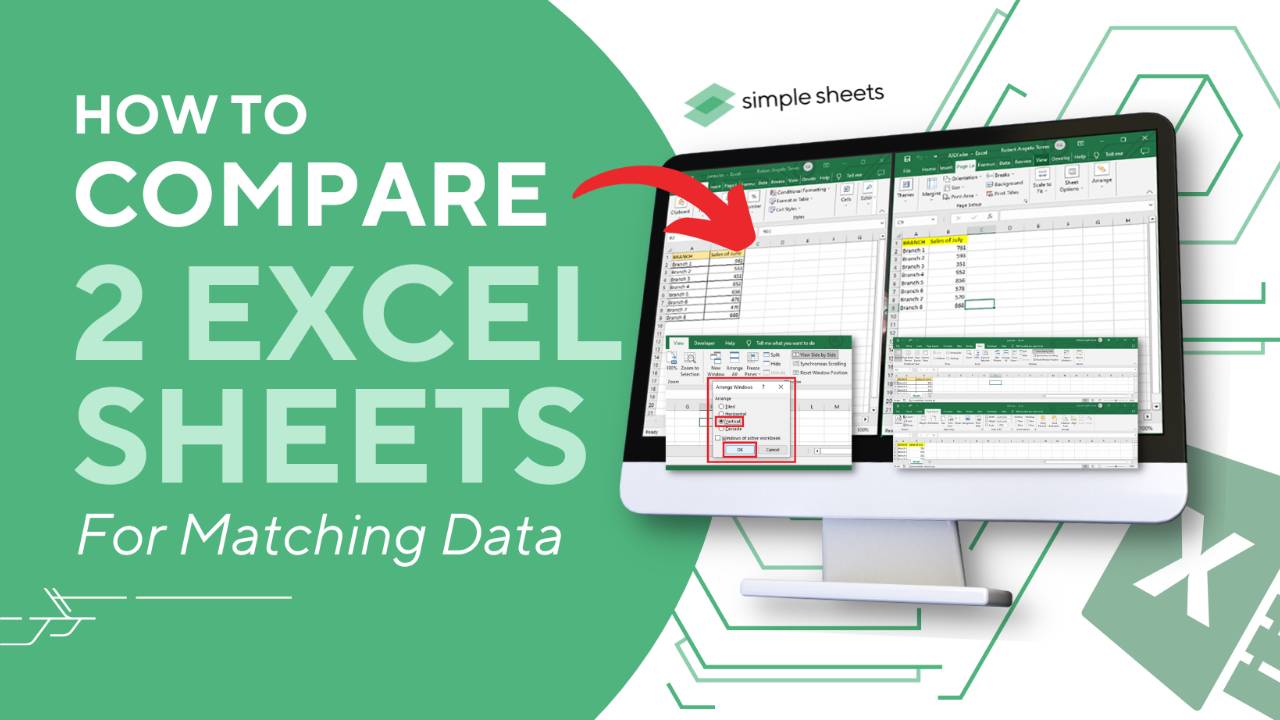
- New Window - Opens a new window of the current workbook, allowing multiple views of different sheets at once.
💡 Note: Remember to check for any updates or add-ins that can enhance your Excel experience, especially on Windows 7, where newer features might not be natively supported.
Minimizing Ribbon to Free Up Space

Another useful feature for improving the workspace:
- Click the Expand Ribbon Button (a small upward-pointing arrow) at the bottom-right of the Ribbon to collapse the Ribbon, maximizing your screen space for sheets.
Worksheet Overview with Task Panes

Utilizing the New Window feature:
- Open the Excel workbook and go to the ‘View’ tab.
- Click ‘New Window.’ This creates another window of the current workbook.
- Navigate to different sheets in each window to compare or work on different parts of your data.
💡 Note: Opening multiple windows will consume more system resources. Ensure your Windows 7 machine can handle this to avoid performance issues.
Using Tabs for Navigation

To easily switch between sheets:
- Right-click any sheet tab for options like:
- Select All Sheets - to apply formatting or changes to all sheets.
- Hide - to hide unnecessary sheets, decluttering the interface.
- Color - for visual organization.
Keyboard Shortcuts for Efficiency

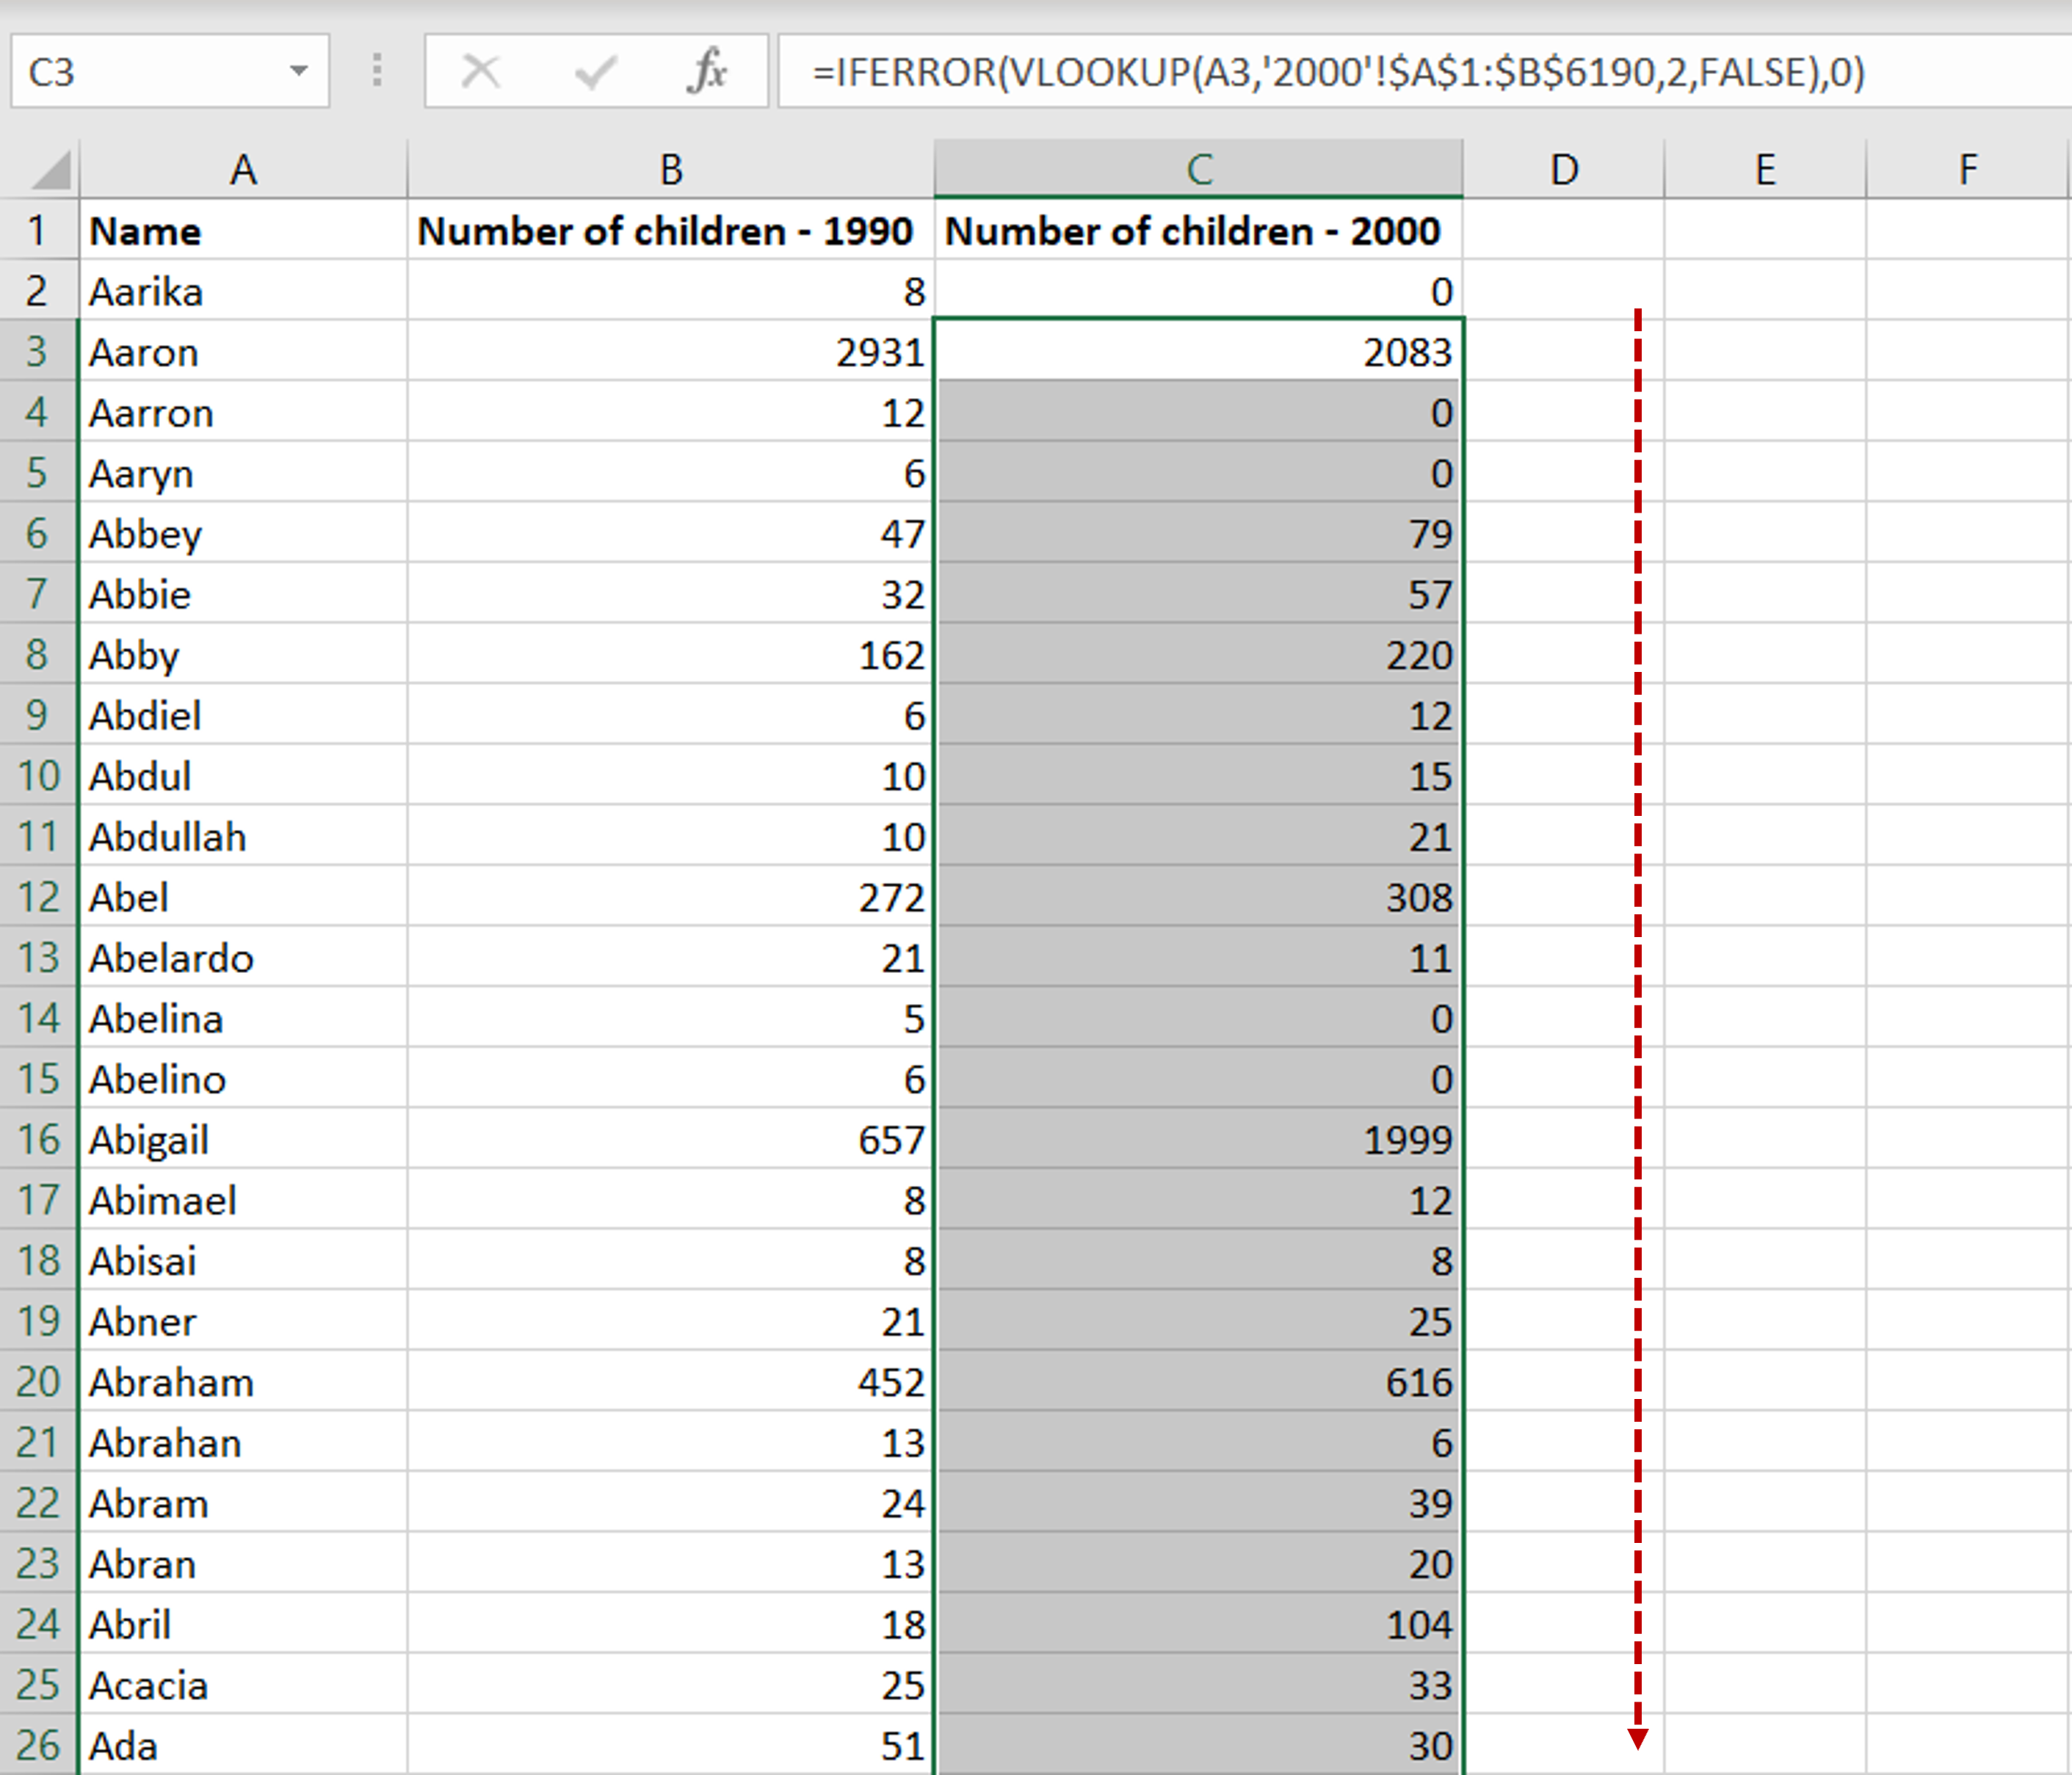
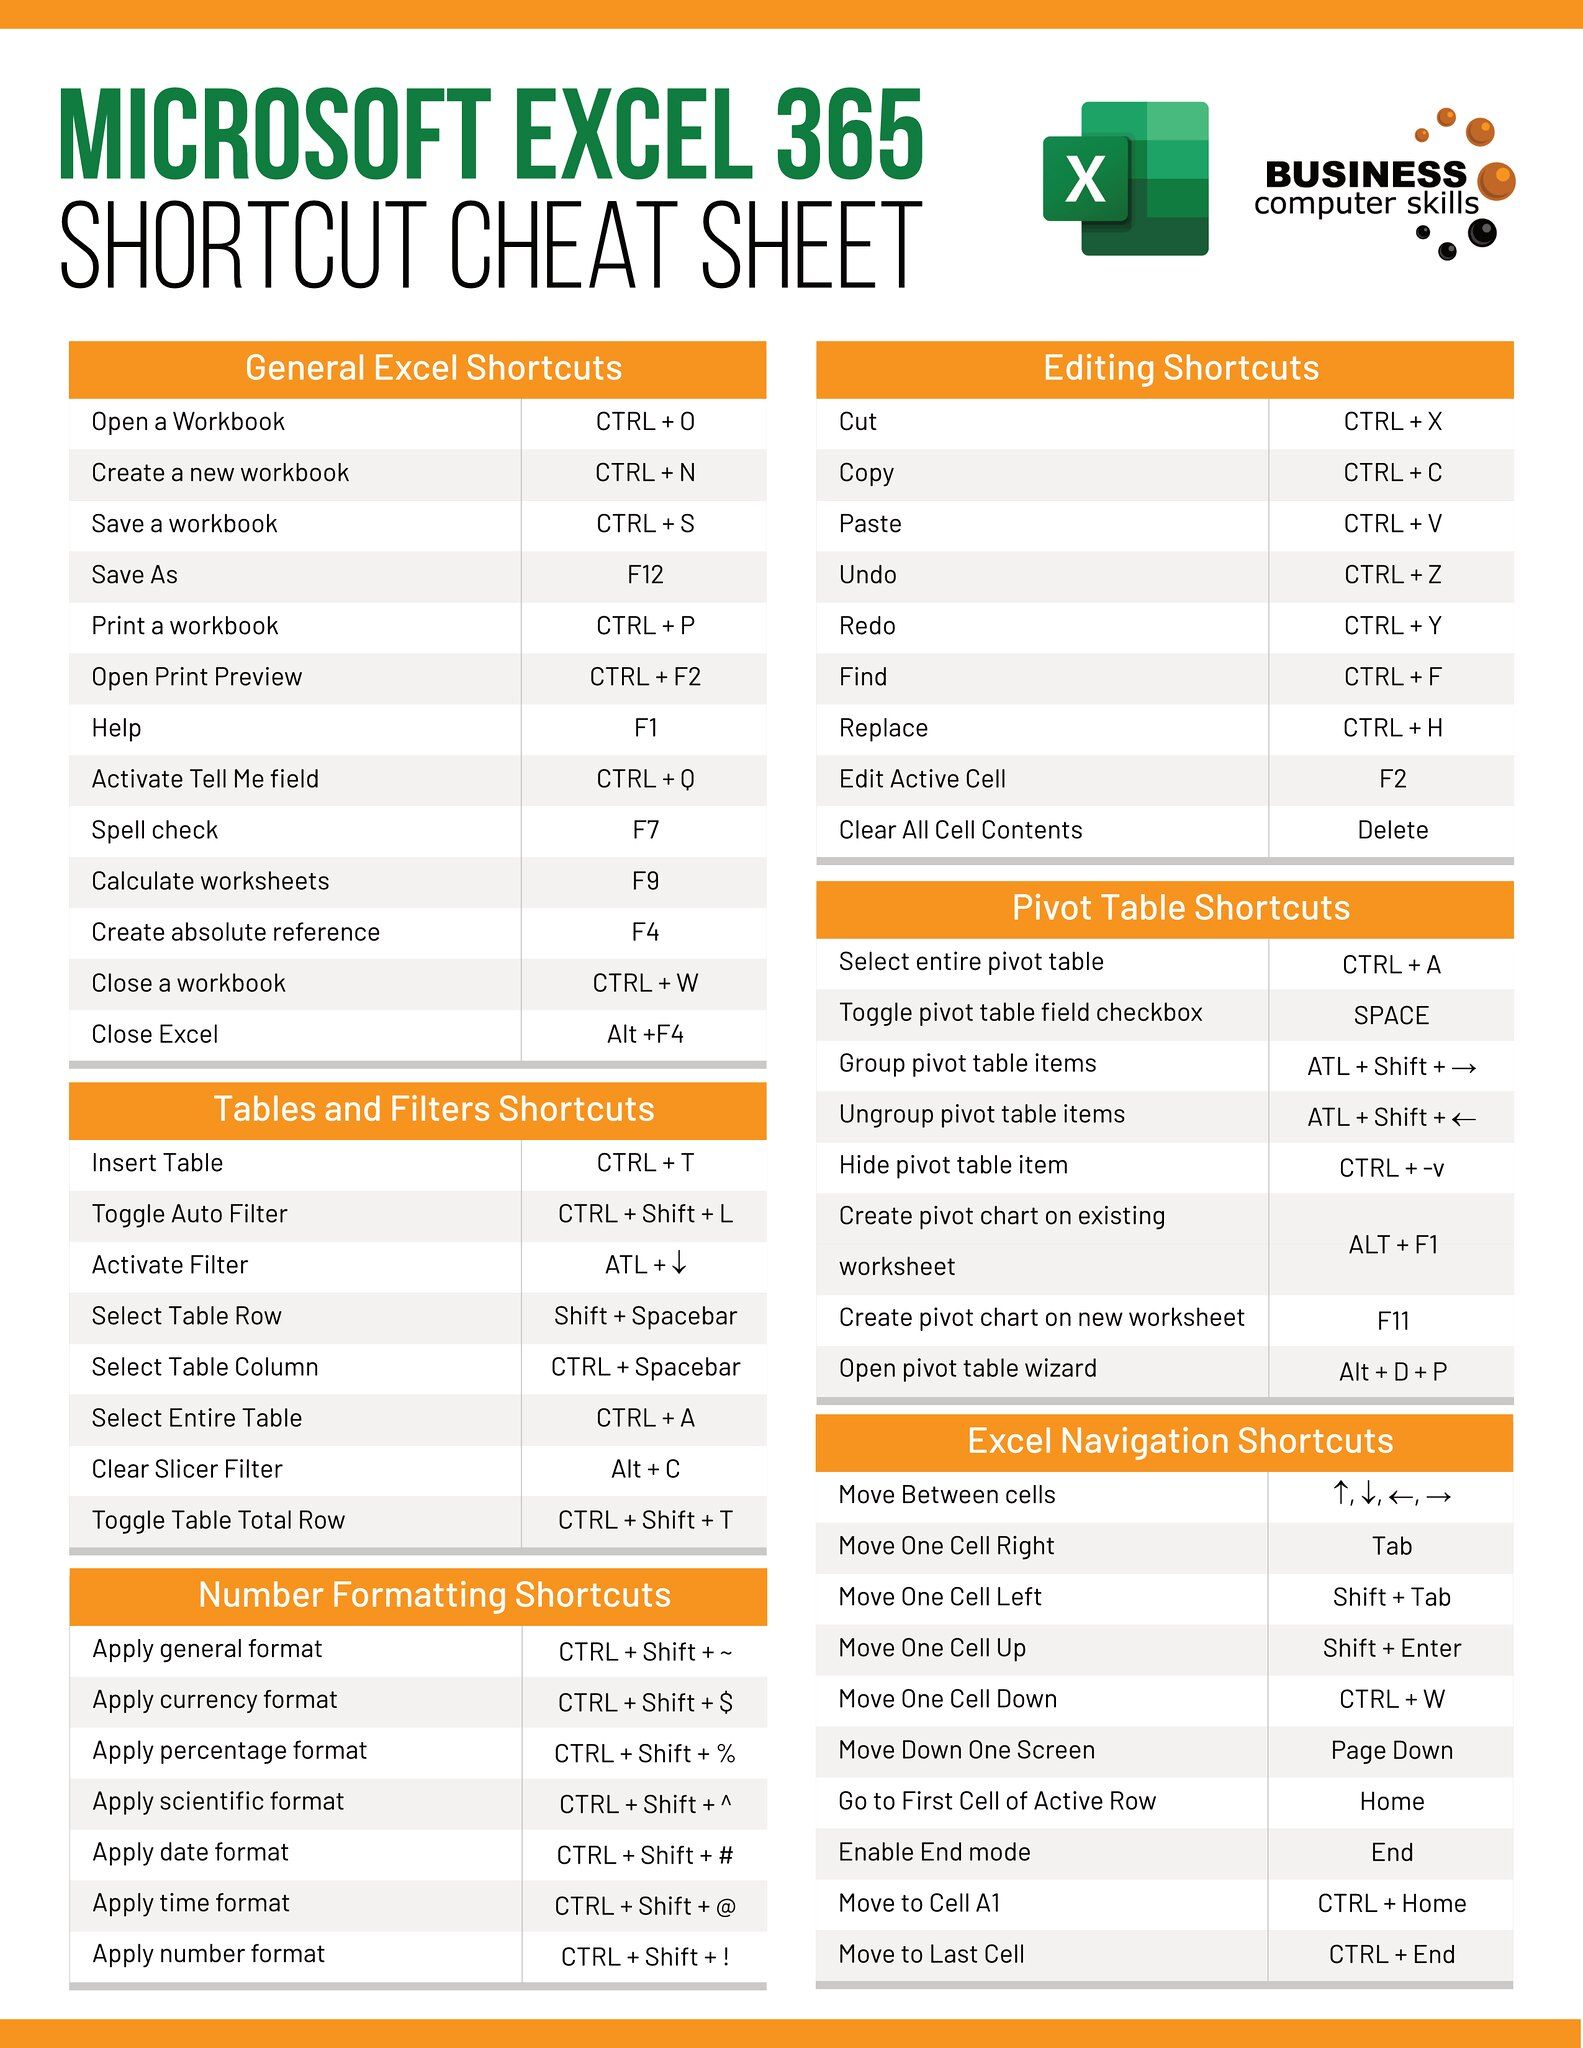
Here are some shortcuts that can boost your productivity:
| Action | Shortcut |
|---|---|
| Navigate to next sheet | Ctrl + Page Down |
| Navigate to previous sheet | Ctrl + Page Up |
| Add new sheet | Shift + F11 |
| Select adjacent sheets | Click first sheet + Ctrl + Shift + Click last sheet |
Customizing the Excel Interface
For a personalized experience, Excel allows you to modify:
- The placement of the Quick Access Toolbar.
- How you want to display or hide certain features or panes.
- Access to the Developer tab for advanced Excel users to add macros or other customizations.
Given that Windows 7 might not support newer Excel features natively, this flexibility in interface customization can compensate for any limitations, ensuring you get the most out of Excel.
In this post, we've explored several ways to make displaying and navigating Excel sheets on Windows 7 intuitive and efficient. From leveraging the Ribbon to utilizing multiple windows, these methods will help you manage data with ease. Remember to adapt these techniques to your specific workflow, customize your interface for optimal use, and always keep your system updated where possible.
Can I use these methods on newer versions of Excel?

+
Yes, while these methods are tailored for Windows 7, many of them are also applicable in newer versions of Excel, though interface locations might differ slightly.
Will opening multiple Excel windows impact my system performance?
+
On older systems like Windows 7, opening multiple instances of Excel can indeed impact performance, especially if your hardware is not up to date. Monitor your system resources and close unnecessary programs to maintain efficiency.
How can I get the Developer tab if it’s not visible?
+
Go to ‘File’ > ‘Options’ > ‘Customize Ribbon’ > ‘Main Tabs’ and check the ‘Developer’ option to enable the Developer tab, which provides access to advanced Excel features.


