5 Steps to Convert Google Sheets Pivot to Excel Pivot

Converting data from Google Sheets to Excel is often necessary for many users who need to work across different platforms or share data with others who prefer Microsoft Excel's environment. Specifically, when dealing with pivot tables, this conversion can seem daunting. However, with the right steps, you can seamlessly transition your Google Sheets pivot tables to Excel, ensuring data integrity and functionality. Here's how to do it effectively.
Step 1: Prepare Your Google Sheets Pivot Table

Before exporting your data:
- Ensure all filters, sorting, and calculations in your Google Sheets pivot table are set as desired.
- Double-check for any missing or hidden data that might not appear correctly in Excel.
Step 2: Export Google Sheets to Excel

To export your pivot table from Google Sheets:
- Open the Google Sheets document containing your pivot table.
- Click on File, then Download, and choose Microsoft Excel (.xlsx).
This will download the file in Excel format, but remember, the pivot table functionality might not transfer directly.
Step 3: Open the File in Excel

After exporting:
- Open the downloaded Excel file in Microsoft Excel.
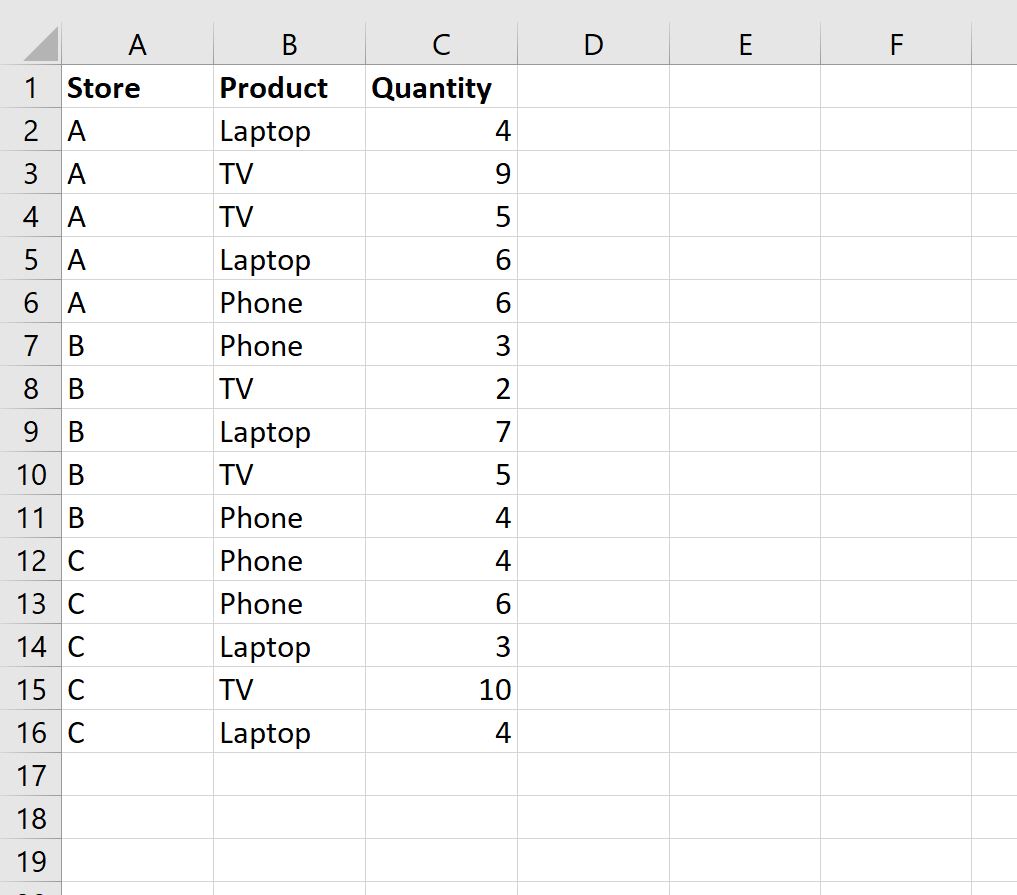
- You will see your data laid out in a tabular format, but the pivot functionality will be lost. The next step is to recreate it.
Step 4: Recreate the Pivot Table in Excel

Recreating the pivot table involves:
- Select the range of data you wish to include in the pivot table.
- Go to the Insert tab, click on PivotTable, and choose where you want the pivot table to be placed (new worksheet or existing worksheet).
- Manually recreate the pivot table by dragging fields to the Rows, Columns, Values, and Filter areas as they were set up in Google Sheets.
📌 Note: When setting up the pivot table, ensure that your field names and data types match exactly with those in your original Google Sheets pivot table for consistency.
Step 5: Apply Filters, Sorting, and Calculations

Once your pivot table is recreated:
- Reapply any filters or sorting that was present in your Google Sheets pivot table.
- Double-check the calculations or summary functions like sum, average, count, etc., to make sure they’re set up correctly in Excel.
Excel might offer different tools or functions to achieve the same results, so familiarize yourself with these options.
In summary, converting pivot tables from Google Sheets to Excel involves preparation, exporting, and then a careful reconstruction process. Here are the key points:
- Prepare your Google Sheets pivot table for export, ensuring all data and settings are as intended.
- Export the file in .xlsx format, then open it in Excel.
- Manually rebuild the pivot table in Excel, paying attention to detail to maintain the original structure and functionality.
- Reapply any filters, sort orders, and calculations.
While this process does require some manual effort, it ensures that you retain control over your data and its presentation in Excel's environment. Whether for further analysis or sharing with colleagues who use Excel, following these steps will keep your data manageable and your analyses accurate.
Can I directly convert a Google Sheets pivot table to an Excel pivot table?

+
Unfortunately, pivot tables do not transfer automatically when exporting from Google Sheets to Excel. You must recreate them in Excel.
What if my pivot table in Google Sheets has custom formulas?

+
Custom formulas need to be manually recreated in Excel. Excel uses its own formula language, so you’ll need to convert or replicate these formulas manually.
Will my pivot table’s filters and sorting options carry over to Excel?

+
The structure does not transfer, but you can manually set up identical filters and sorting in your new Excel pivot table.