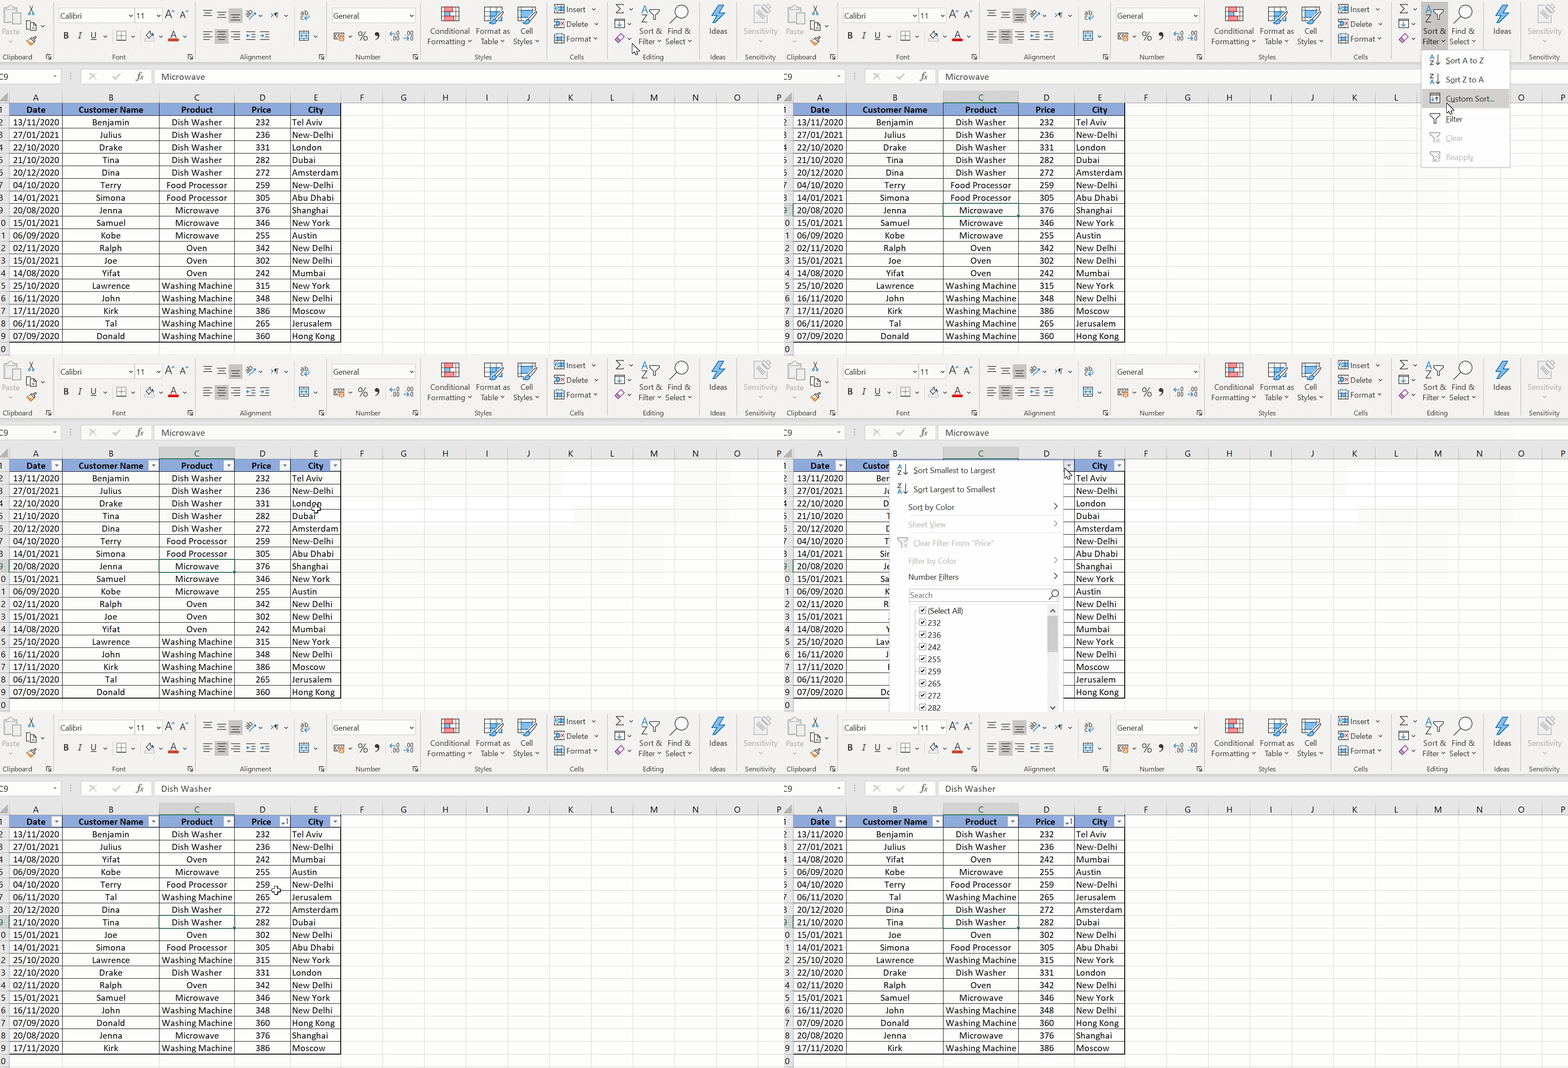
5 Simple Steps to Enable Sorting in Excel

Sorting data in Microsoft Excel can be an incredibly useful skill, especially when dealing with large datasets or trying to make sense of numbers, names, and other variables. Whether you're managing a small business, organizing personal records, or analyzing large amounts of data for academic or professional purposes, sorting can help you order your data to make it more manageable and insightful. Here are five straightforward steps to enable sorting in Excel, which will streamline your data analysis process:
1. Prepare Your Data

Before you can sort your data, ensure that your information is well-organized:
- Data Consistency: Make sure that all data in a column follows the same format. For instance, all dates should be in one format, all numbers should be formatted similarly, etc.
- Unique Headers: Each column should have a unique header which remains constant across the dataset. This header will not only help you sort but also keep track of what each column represents.
- Blank Cells: Ensure that there are no blank cells within your data range. Blank cells can throw off the sort order, especially if you’re sorting by multiple columns.
2. Select Your Data

To enable sorting:
- Click and drag to highlight the entire range of data you want to sort. Alternatively, if your data is in a table format, you can click any cell within it, and Excel will recognize the whole table.
3. Sort Single Column

If you’re sorting by one column:
- Click the “Data” tab on the ribbon.
- Click on “Sort A to Z” for an ascending sort or “Sort Z to A” for descending.
⚠️ Note: If you need to sort by date or by a custom list (e.g., priority, status), click on "Sort & Filter" and then "Custom Sort."
4. Sort Multiple Columns

For more complex sorting:
- Go to “Data” > “Sort & Filter” > “Custom Sort.”
- In the “Sort” dialog box:
- Choose the first column to sort by from the “Column” dropdown.
- Select your sort criteria (Ascending, Descending, or Custom List).
- Use the “Add Level” button to add additional sorting levels if you want to sort by more than one column.
5. Finalize the Sort

After setting your sort criteria:
- Review your sort order in the dialog box to ensure it’s what you want.
- Click “OK” to apply the sort.
- Excel will reorder your data based on the specified sorting rules.
📝 Note: If you're using "My data has headers" and your data has headers, Excel will skip these during sorting to avoid altering your column labels.
By following these steps, you can efficiently sort your Excel data to bring order and structure to what might otherwise be an unwieldy dataset. Remember, sorting is more than just organizing data; it's about gaining insights, spotting trends, and making informed decisions. Whether for financial analysis, event planning, or inventory management, Excel's sorting capabilities can significantly enhance your data management.
Can I undo sorting in Excel?

+
Yes, you can undo sorting by clicking the “Undo” button or pressing Ctrl+Z, provided you haven’t performed any other actions after sorting.
How do I sort data alphabetically, but have numbers sort first?

+
Use “Custom Lists” in Excel’s Sort dialog box. You can define a custom list to prioritize numbers before letters.
What if my sorting messes up the original data?

+
To avoid this, consider sorting on a copy of your data or using filters to sort data without changing its original order.
Is there a way to sort by color in Excel?

+
Yes, Excel allows sorting by cell or font color using the “Sort & Filter” feature.
How do I sort without header rows being affected?

+
In the Sort dialog box, make sure to check the option “My data has headers,” and Excel will keep headers in place.


