5 Ways to Fix Excel Printing Issues

Excel, Microsoft’s flagship spreadsheet software, is an indispensable tool for a plethora of tasks from data analysis to financial management. However, users often encounter printing issues which can disrupt workflow and lead to unnecessary frustration. This blog post will walk you through five effective methods to troubleshoot and fix common Excel printing problems, ensuring your documents look perfect when printed.
1. Adjust Page Layout Settings

Before diving into more complex solutions, ensure your Excel workbook is correctly formatted for printing:
- Check Margins: Navigate to Page Layout > Margins to set appropriate margins. Default settings might not always align with your printer’s capabilities.
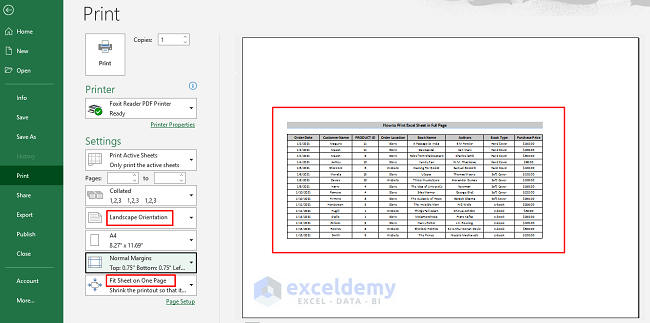
- Set Page Orientation: Depending on the data, choose between Portrait or Landscape under Page Layout > Orientation.
- Scale: If your document is too wide or long, consider scaling it down. Go to Page Layout > Scale to Fit and adjust the Width and Height accordingly.
2. Preview Before Printing

Using the Print Preview feature can save you from several common printing issues:
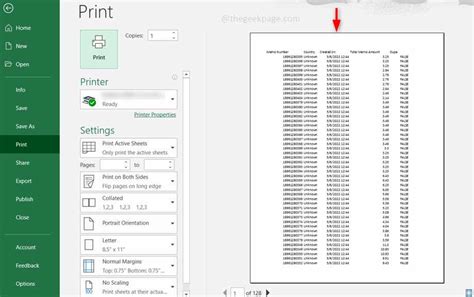
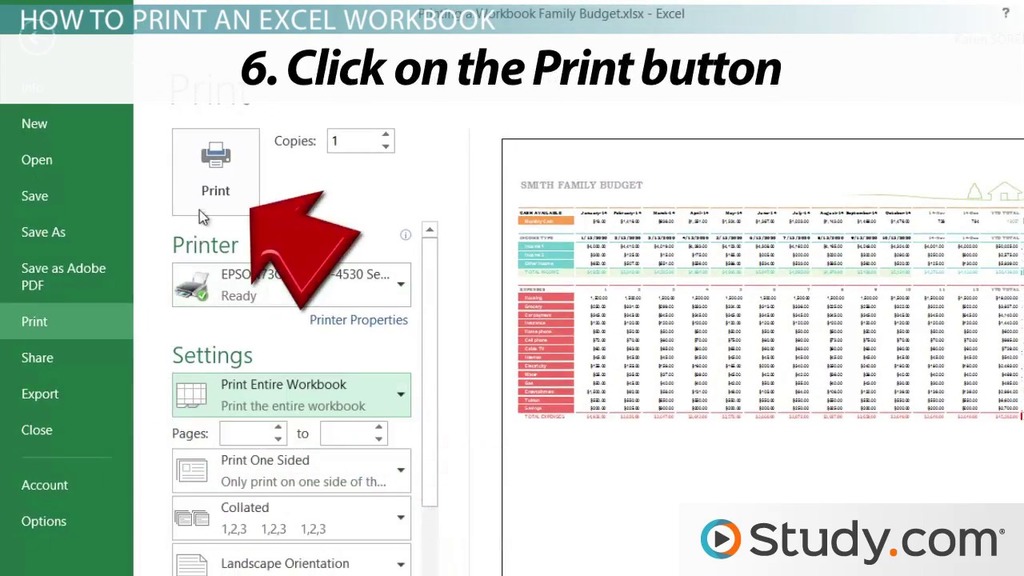
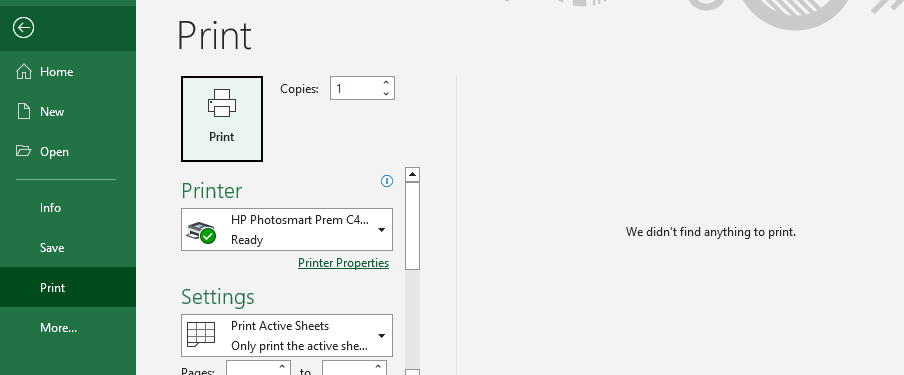
- Access File > Print to enter Print Preview mode.
- Check for any misalignments or unexpected breaks. This mode allows you to see:
- Page breaks
- Margins
- Scaling
- Make necessary adjustments directly from this view.
3. Check for Invisible Characters or Objects
Sometimes, hidden characters or objects can disrupt printing:
- Press Ctrl + Shift + 8 to toggle cell selection highlighting and reveal any empty cells that might be causing print issues.
- Go to Home > Find & Select > Go To Special > Objects to identify and remove any objects like charts or pictures that might interfere with printing.
- Review for page breaks. Unnecessary page breaks can cut off data. You can adjust or remove them from View > Page Break Preview.
🔍 Note: Excel’s print area might not display all objects in Print Preview, so manually checking for hidden elements is crucial.
4. Update Excel and Printer Drivers

Software and hardware compatibility issues often lead to printing problems:
- Update Excel: Ensure you’re running the latest version of Excel by going to File > Account > Update Options > Update Now.
- Printer Drivers: Outdated or incorrect drivers can cause issues. Check your printer manufacturer’s website for the latest drivers and follow their instructions to install or update them.
5. Optimize Workbook for Printing

If basic troubleshooting fails, consider optimizing your workbook:
- Use Print Areas: Define a print area to control what part of your worksheet gets printed. Go to Page Layout > Print Area > Set Print Area.
- Format Data: Clean up formatting issues by reviewing for:
- Unnecessary styles or borders
- Merged cells that might disrupt flow
- Conditional formatting or data validation rules
- Reduce Complexity: If your workbook is complex, try:
- Removing unnecessary hidden columns or rows
- Deleting any volatile functions that might interfere with printing
After implementing these steps, your Excel document should print without issues. However, keep in mind that different printers might have specific quirks or settings that can influence the outcome. Always test print on a smaller scale first to avoid wasting resources.
Why won’t my Excel sheet print in landscape mode?

+
This can occur if the print settings for your document are set to portrait. Navigate to Page Layout > Orientation and select Landscape.
How do I print only a selected part of my Excel spreadsheet?

+
You can define a print area by selecting the part you want to print and then going to Page Layout > Print Area > Set Print Area.
Can updating Excel help with printing issues?

+
Yes, updating Excel can fix many issues related to software bugs or compatibility. Ensure you’re using the latest version to avoid known printing problems.