Recover Excel History: A Simple Guide for All Users

Excel is a powerful tool widely used in both professional and personal environments for data analysis, accounting, and numerous other purposes. However, there are times when you might need to recover Excel history to retrieve valuable information or undo changes. Here's a simple guide to help all Excel users understand how they can achieve this.
What is Excel History?

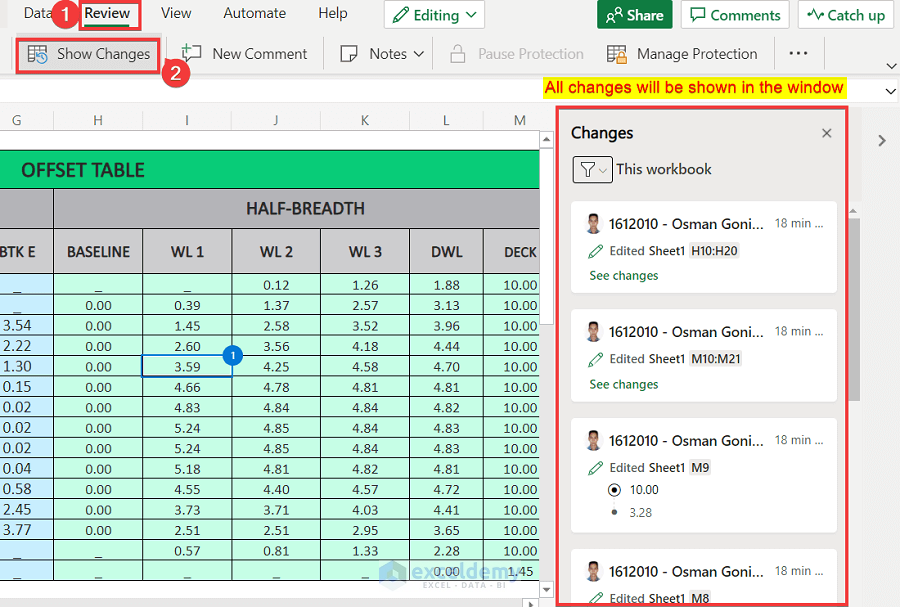
Excel history refers to the record of changes made to an Excel workbook, including modifications to cells, formulas, and structure. This feature can be vital for several reasons:
- To review past versions of the workbook.
- To track who made what changes when working in a team.
- To recover lost work after an unintended closure or a crash.
Let’s delve into the various methods to recover or track Excel history.
Automatic Save and Recovery

One of the first steps to understand is Excel’s built-in recovery tools:
- AutoRecover: Excel automatically saves temporary versions of the workbook at regular intervals. These can be retrieved if the application crashes or your system loses power.
- Backup: Excel’s ‘AutoBackup’ feature allows you to maintain copies of your workbooks, which can be useful for recovery purposes.
🧠 Note: Check Excel’s settings to ensure AutoRecover and Backup features are enabled. Navigate to ‘File > Options > Save’ to configure these options.
Using Version History

If you are working with Excel through OneDrive or SharePoint:
- Open the workbook.
- Go to ‘File > Info’.
- Click on ‘Version History’.
- You’ll see a list of versions with dates and times. Click on any to view or restore that version.
💡 Note: Version History is not a default setting. Ensure your Excel file is stored on OneDrive or SharePoint with Version History enabled.
Excel’s Built-in Tracking

For collaborative work, Excel offers features like:
- Track Changes: This feature records who made changes, when, and what was changed. Here’s how to use it:
- Go to ‘Review > Track Changes > Highlight Changes’.
- Choose to highlight changes on screen or list changes in a new sheet.
Advanced Recovery Options

Should you need to go beyond Excel’s standard recovery methods:
- External Tools: Several third-party tools can recover lost Excel files or data.
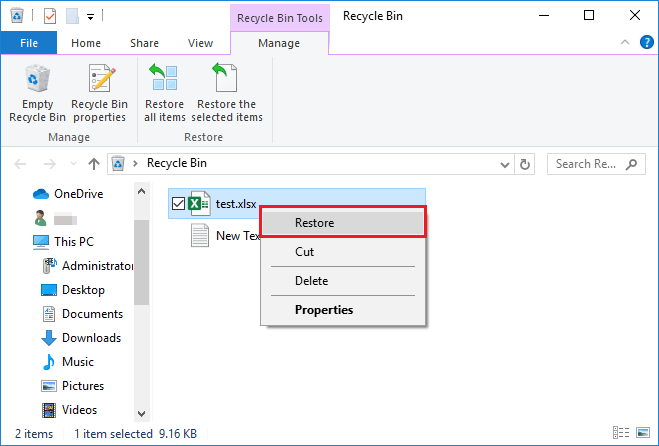
- System File Recovery: If Excel crashes, your computer might still have an older version saved that you can recover using system recovery software.
Preventive Measures

To minimize the need for recovery:
- Save your work regularly or use the AutoRecover feature.
- Backup your files regularly outside of Excel.
- Use cloud storage like OneDrive or Google Drive for better version control.
The ability to recover Excel history can be a lifesaver, ensuring you don't lose valuable data or work due to crashes or unintended changes. Whether it's through Excel's own tools like AutoRecover or Version History, or through more advanced recovery methods, understanding these options gives you a safety net when working with spreadsheets. Remember, regular saves and backups are your best preventive measures against data loss. This guide should help you navigate Excel's recovery features with confidence, ensuring your data remains safe and accessible.
How often does Excel automatically save my workbook?

+
Excel’s AutoRecover feature typically saves your work every 10 minutes by default, but this interval can be adjusted in the Excel settings under ‘File > Options > Save’.
Can I recover my Excel workbook if I didn’t enable AutoRecover?

+
If AutoRecover wasn’t enabled, you might still be able to recover your work through system recovery tools or third-party software designed for data recovery.
What should I do if I accidentally overwrite important data in Excel?

+
Utilize the Undo feature immediately (Ctrl+Z) or use the Track Changes feature to revert changes. If neither option works, look into version history if your file is on OneDrive or SharePoint.