How to Print Excel Sheets Easily

Excel, a cornerstone tool in numerous businesses, provides a dynamic environment for data management, analysis, and visualization. The need to share or document your work often means you'll have to print your Excel sheets, which can sometimes be daunting due to Excel's extensive features and options. Here’s a comprehensive guide to streamline your Excel printing process, ensuring your sheets look professional and convey your data effectively.
Setting Up Your Excel Sheet for Print

Before you print, you need to ensure that your Excel sheet is optimized for print:
- Adjust Layout: Set your sheet to Page Layout view (View tab > Page Layout) for a better print preview.
- Page Orientation: Choose between Portrait or Landscape under Page Layout > Page Setup > Orientation to fit your data better.
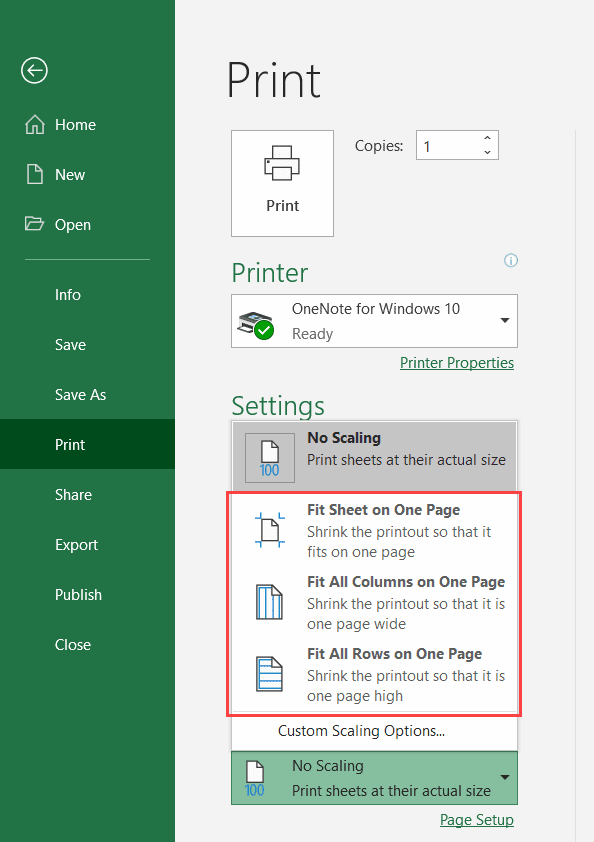
- Fit to Page: Under Print Titles, you can shrink content to fit one page or adjust scaling as needed.
Using Print Titles for Headers

To print headers or rows and columns titles on every page:
- Navigate to Page Layout > Print Titles.
- Under Rows to repeat at top, select the row(s) you want to repeat.
- Under Columns to repeat at left, select the column(s) you want to repeat.
📝 Note: If you're working with large datasets, printing headers on each page improves readability.
Print Areas

Define a print area if you want to print a specific part of your sheet:
- Select the range you want to print.
- Go to Page Layout > Print Area > Set Print Area.
To clear the print area, go to Page Layout > Print Area > Clear Print Area.
| Feature | Use |
|---|---|
| Print Area | Restricts printing to a specific range within your spreadsheet. |
| Print Titles | Allows headers or row titles to be printed on every page. |

Print Previews and Adjustments

Excel's Print Preview feature lets you review your print setup:
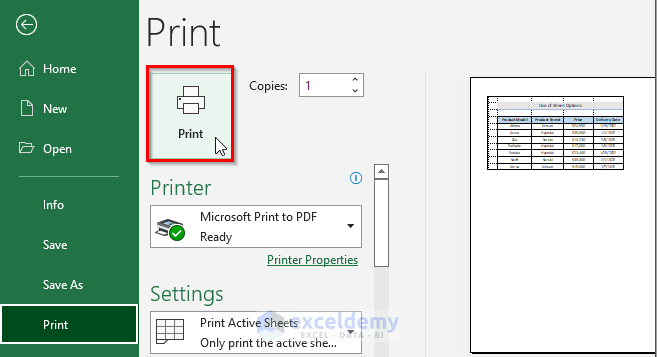
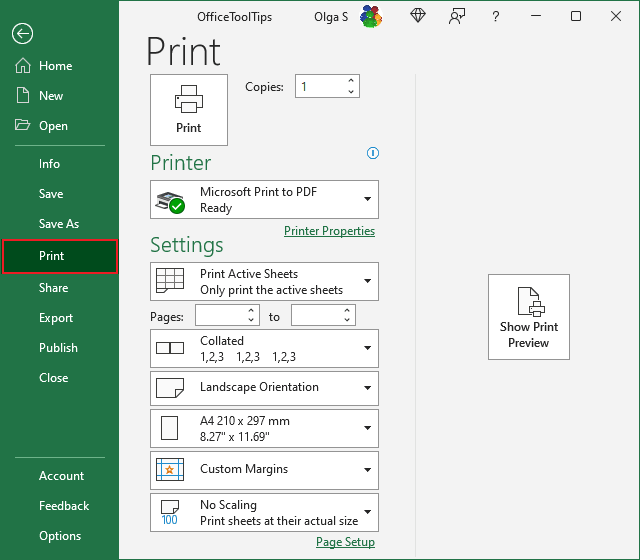
- Go to File > Print or press Ctrl + P.
- Check how your data will look on paper, and adjust margins, headers, footers, etc.
Printer and Paper Settings

Ensure you've selected the appropriate printer and paper size:
- In the Print dialog, choose your printer.
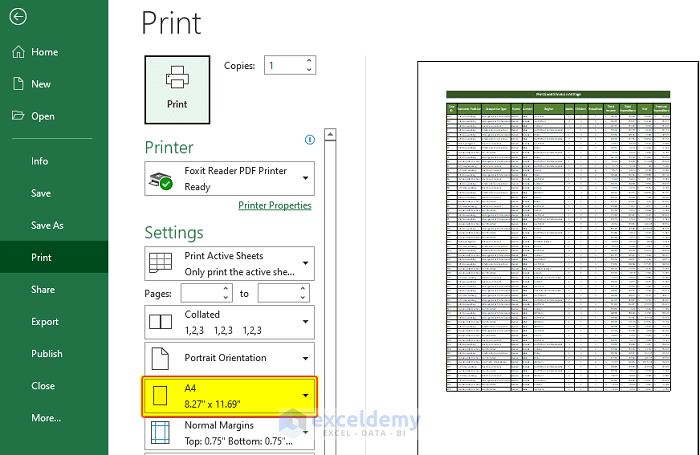
- Select the correct paper size from the Page Setup.
Also, consider the orientation:
- Portrait for more vertical content.
- Landscape for wider data sets or charts.
📝 Note: Always ensure your printer and Excel sheet settings are matched for optimal print output.
Advanced Printing Options

For more control over your print:
- Gridlines: To print gridlines, go to Page Layout > Sheet Options > Gridlines.
- Headers and Footers: Add them through Page Layout > Print Titles, or directly in the Page Setup dialog.
- Print Area for Charts: Excel allows you to print selected charts or tables by setting a print area around them.
Here are some additional considerations:
- If you’re dealing with complex sheets with multiple tables or charts, consider grouping related data into sheets or workbooks.
- Utilize the “Fit to Page” option carefully, as it might make data unreadable if you try to squeeze too much information onto a single page.
Summing up, printing Excel sheets can be straightforward if you set up your sheet correctly. By adjusting print settings, defining print areas, and making use of Excel’s advanced printing options, you can ensure your printed Excel documents are both professional and functional. Remember that a well-printed Excel sheet not only presents your data clearly but also reflects the care you’ve put into your work.
How do I print a selected range in Excel?

+
Select the cells or range you want to print, then go to Page Layout > Print Area > Set Print Area.
Why isn’t my print preview showing all the content?

+
Check your scaling options. If your content is too large for the current page setup, Excel might not fit all the data on one page. Adjust the “Fit to” option or reduce the scaling percentage.
Can I print headers on every page?

+
Yes, under Page Layout > Print Titles, you can specify rows or columns to repeat on every printed page.