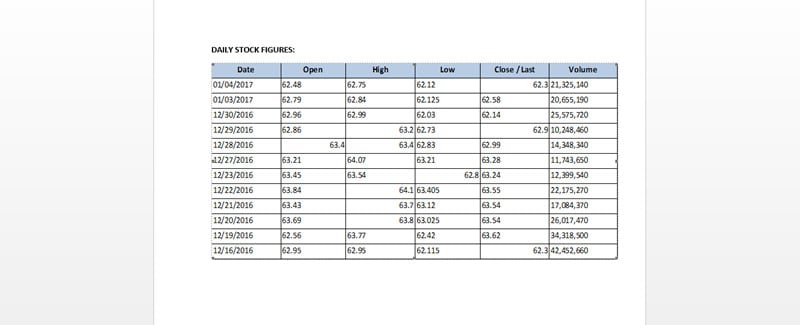
3 Simple Ways to Insert Excel into Word Document

When working with documents that involve both text and data, it's often useful to integrate Microsoft Excel spreadsheets into a Microsoft Word document. Whether you need to include charts, tables, or data sets for a report, presentation, or any detailed analysis, Word provides several methods to embed or link Excel content. This post will explore three straightforward methods to insert Excel into Word, enhancing your document's effectiveness and readability.
Method 1: Copy and Paste

One of the simplest ways to incorporate Excel data into Word is through copying and pasting. Here’s how:
- Open the Excel workbook that contains the data or chart you want to include.
- Select the cells, chart, or range of data you wish to copy.
- Right-click and select ‘Copy’ or press Ctrl + C.
- Go to your Word document, place the cursor where you want the Excel data, and right-click to choose ‘Paste’ or use Ctrl + V.

📌 Note: If you use the regular paste option, Word will embed a static version of the Excel data. To make the data interactive or updatable, use 'Paste Options' and choose 'Link & Use Destination Styles' or 'Link & Keep Source Formatting'.
Method 2: Insert Object

For a more dynamic integration, you can insert Excel as an object:
- Open your Word document and place the cursor where you want to insert the Excel data.
- Navigate to Insert > Object in the toolbar.
- Choose ‘Create from File’.
- Click ‘Browse’ to locate your Excel file and select it.
- You can choose either ‘Link to file’ or ‘Display as icon’ options:
- Link to file: This option means Word will open the Excel file when you double-click the object, keeping the data synced.
- Display as icon: This displays an icon that, when clicked, opens the Excel file.

📌 Note: Linking the file allows you to edit in Excel, and these changes will automatically reflect in your Word document, provided the path to the Excel file remains unchanged.
Method 3: Embed Workbook

To fully incorporate an Excel workbook into your Word document for interactive editing:
- In Word, go to Insert > Object.
- Choose ‘Create New’.
- Select Microsoft Excel Worksheet from the list.
- An editable Excel environment will appear in your Word document where you can input or modify data.

When you're done, you can format and adjust the table as needed within Word.
📌 Note: Unlike linking, embedding the workbook allows for direct editing without maintaining a link to the original Excel file. However, it does not update automatically if the source data changes.
Choosing the Right Method

Each method has its advantages:
- Copy and Paste: Best for static data that won’t change much.
- Insert Object: Ideal for documents that need live data updates or to present the Excel file as an object.
- Embed Workbook: Suitable when you want to include editable data directly within Word.
This flexibility allows you to tailor your document for the specific needs of your audience, ensuring that whether you're presenting a static snapshot of data or an interactive workbook, your document remains clear and professional.
What are the benefits of linking an Excel file in Word?

+
Linking an Excel file in Word ensures that any changes made in the Excel file will automatically reflect in the Word document, keeping your documents up to date.
Can I edit Excel data directly within Word?

+
Yes, you can edit data directly if you embed the Excel workbook in Word. However, for linked files, you’ll need to edit the original Excel file and save the changes for them to appear in Word.
What happens if I move or rename the linked Excel file?
+
If you move or rename a linked Excel file, the link in Word will break, and the data will no longer update automatically. You’ll need to re-link the file or manually update the data.
How do I prevent users from editing the data in Word?

+
To prevent editing, you can either paste the Excel data as a static image or use the ‘Link & Use Destination Styles’ or ‘Link & Keep Source Formatting’ options without selecting ‘Create New’ in the Insert Object feature.